Oil filter caps can be stubborn, especially in tight engine bays where a standard socket won’t sit squarely. A low-profile cap set helps reach recessed filter housings, spread force evenly, and reduce the chance of rounding the cap. This guide covers what’s included, how to match the right size, and practical tips for smoother oil changes.
What a Low-Profile Oil Filter Cap Set Solves
Cartridge-style oil filters often live inside a housing cap with shallow flutes and limited clearance around it. When the socket sits even slightly crooked, torque concentrates on a few flutes instead of the whole cap.
- Reaches filter housings tucked near radiators, subframes, or intake plumbing where taller sockets bind or tilt
- Improves engagement on shallow or fine flutes by keeping the tool seated squarely
- Helps prevent cracked plastic caps and rounded flutes caused by uneven torque
- Speeds up routine service by reducing trial-and-error and re-positioning
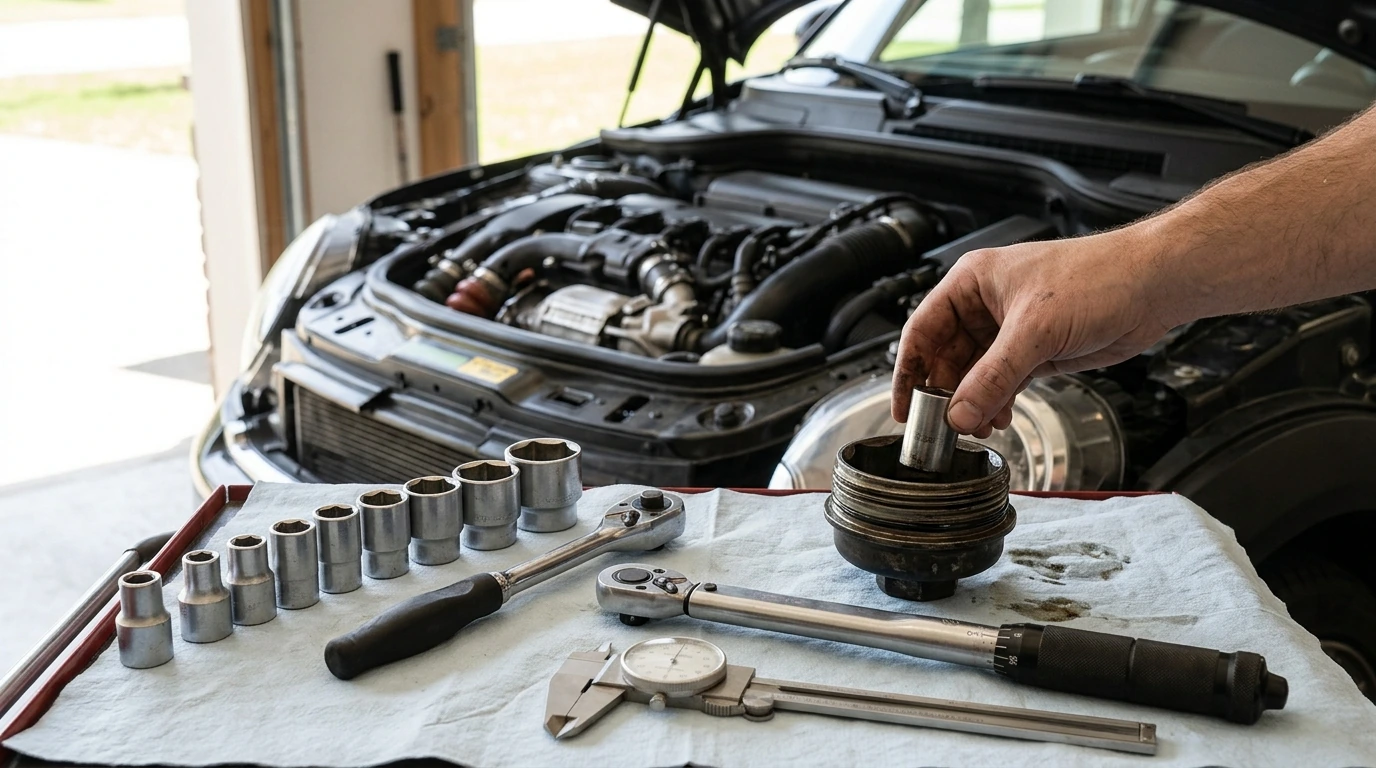
What’s Included in the 14-Piece Set
A multi-size kit is designed to cover a spread of common cartridge housing caps without forcing an “almost fits” socket onto the flutes.
- Multiple cap sizes to cover a range of common cartridge-style oil filter housings
- Low-profile design to reduce clearance issues in compact engine bays
- Works with common drive tools (ratchet/breaker bar/torque wrench) depending on the specific adapter used
- Built for repeated oil-change cycles where consistent fit matters
How to Identify the Correct Cap Size Before Turning Anything
The best time to confirm fit is before you apply force. Two caps can look similar on the vehicle yet require different sockets due to flute count or small diameter differences.
- Confirm the vehicle uses a cartridge-style oil filter housing cap (not a spin-on canister filter)
- Count the flutes (ridges) on the cap; many housings use 14-, 15-, or 16-flute patterns
- Measure the cap’s outside diameter across the flutes (mm) with calipers for the most reliable match
- Match both flute count and diameter—two caps can share a similar diameter but differ in flute count
- If measuring isn’t possible, cross-reference the oil filter housing cap spec in the service manual or parts catalog
Quick Fit Checks for Oil Filter Housing Caps
| Check |
What to look for |
Why it matters |
| Flute count |
Number of ridges around the cap |
Wrong count can slip even if diameter seems close |
| Outer diameter (mm) |
Measure across the flutes with calipers |
Controls how tightly the cap socket seats |
| Cap material |
Plastic vs. aluminum |
Plastic caps demand a snug, square fit to avoid damage |
| Access/clearance |
Obstructions around the housing |
Low-profile sockets help keep the tool aligned |
| Torque spec |
Specified tightening torque for the housing |
Prevents leaks, cracked caps, and stuck caps next time |
Using a Low-Profile Cap Socket Without Damaging the Housing
A clean, square seat does most of the work. If the socket is fully engaged, it’s easier to break the cap loose without chewing up the flutes.
- Clean oil and grit from the cap flutes before seating the socket to reduce slip
- Push the socket fully onto the cap by hand and check it sits flat before applying force
- Use steady pressure; avoid sudden impacts that can shear plastic flutes
- If the cap resists, confirm the socket is fully seated and correctly matched (diameter + flute count)
- Reinstall using the manufacturer torque specification and a torque wrench when possible
- Replace the housing O-ring during service and lubricate it with clean oil to prevent binding
For general oil-change safety, step-by-step handling, and disposal reminders, see Mobil 1’s oil change guidance. If you use cleaners or penetrants, review chemical handling basics via CRC Safety Data Sheets.
When Low-Profile Matters Most
- Engines with top-mounted cartridge filters under cowlings or bracing where swing room is limited
- Vehicles with recessed housings where taller sockets contact surrounding components
- Plastic caps that have shallow flutes and are prone to rounding under angle load
- Routine maintenance schedules where repeated removals make proper fit and torque consistency important
Care, Storage, and Long-Term Accuracy
Cap sockets last longer when their engagement surfaces stay crisp and clean—especially on plastic housings that demand full contact.
- Wipe sockets clean after use; oil left inside can attract grit that accelerates wear
- Store in a case or organized tray so sizes don’t get mixed or damaged
- Inspect for burrs or distortion on the contact surfaces; replace pieces that no longer seat cleanly
- Avoid using the cap sockets as general-purpose impact sockets unless explicitly rated for it
Common Fit Mistakes and How to Avoid Them
- Assuming one size fits all: similar-looking caps can differ by a few millimeters or by flute count
- Tilting the socket to clear an obstacle: reposition the access path or use a low-profile option to keep it square
- Over-tightening on reinstall: can crush the O-ring, warp the cap, and make the next removal difficult
- Skipping O-ring replacement: old seals can stick and increase removal force, stressing the flutes
If you need manufacturer torque specs or service references, consult official owner and service resources for your brand; the NHTSA vehicle owner portal is a starting point for manufacturer links and safety information.
Product Options In Stock
FAQ
What size socket do I need to remove the oil filter cap?
Match the cap socket to the oil filter housing by measuring the outside diameter across the flutes (in mm) and confirming the flute count. If measuring isn’t practical, use the vehicle service manual or parts catalog; the correct socket should seat fully and sit flat before you apply torque.
Recommended for you







Leave a comment